
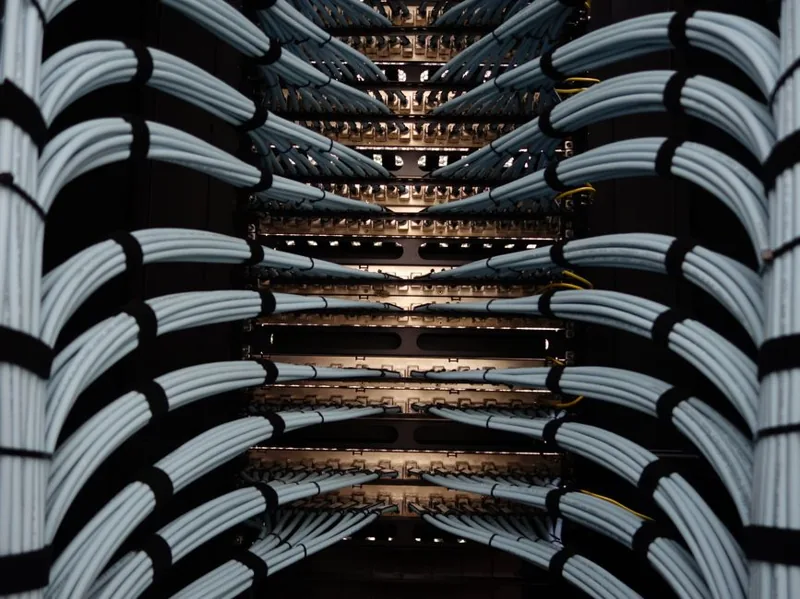
Cable Management Tips: 9 Ways to Tidy Your Gaming Desk
The best cable management tips share one goal: get every wire off your desk and out of your sight lines without making it hard to swap gear later. A clean desk is not just about looking good in a setup photo — it saves you from the aggravation of a snagged mouse cable, dust bunnies collecting in a rat’s nest, and the slow realization that you cannot find which cable goes where. Whether you are tidying a $300 starter desk or a full battlestation, these nine practical steps will get you from tangled to tidy in an afternoon.
The mistake most people make is diving in without a plan, unwrapping everything, and then discovering they have run out of slack or places to hide the bulk. Instead, treat this like a small project: unplug, sort, and route methodically. A little patience up front pays off with a result that actually lasts. For broader setup inspiration once your cables are handled, our gaming desk setup ideas article is the natural next read.
Map Your Cables Before You Touch Anything
The first and most important of all cable management tips is to inventory what you actually have. Write down or mentally list every device and its cable — monitor power, display cable, keyboard, mouse, headset, controller, speakers, webcam — and note which direction each one needs to travel. Most desks have a routing direction: everything eventually funnels toward the wall outlet, a power strip, or the back of the PC tower.
This step reveals two things: how much length you need, and where the natural channels are. You will almost always find that a few short cables (or a couple of long ones) are the real source of the mess, and knowing that in advance lets you buy the right thing once instead of guessing.
Consolidate Power With One Power Strip

A single quality power strip mounted under or behind the desk is the backbone of a clean setup. Instead of a spiderweb of wall adapters spread across three outlets, you route everything to one strip, which dramatically reduces the visible “spaghetti” from power bricks and adapters. Choose a strip with surge protection and enough outlets for your gear plus a little headroom.
Mounting it off the floor is the key. Velcro straps, double-sided tape, or a simple under-desk cable tray hold the strip up out of sight, which also keeps the mass of power cables off the floor where they collect dust. Route the strip’s own power cord along a desk leg toward the wall so there is a single, deliberate path to the outlet.
Route Along the Desk Edge and Legs
For horizontal cable runs, the back edge of the desk and the legs are your best friends. Run the main trunk of cables along the rear lip of the desk and down a leg, bundling them loosely as you go. Keeping the trunk together means you are managing one organized line instead of a dozen individual strands wandering in every direction.
Use reusable velcro cable ties rather than zip ties for the initial build — they are adjustable and easy to open when you need to add or remove a cable, which you will thank yourself for the first time you swap a monitor. Zip ties are fine for permanent, final-secure positions, but velcro is the forgiving choice while you are still figuring out the layout.
Invest in a Cable Tray and Sleeves
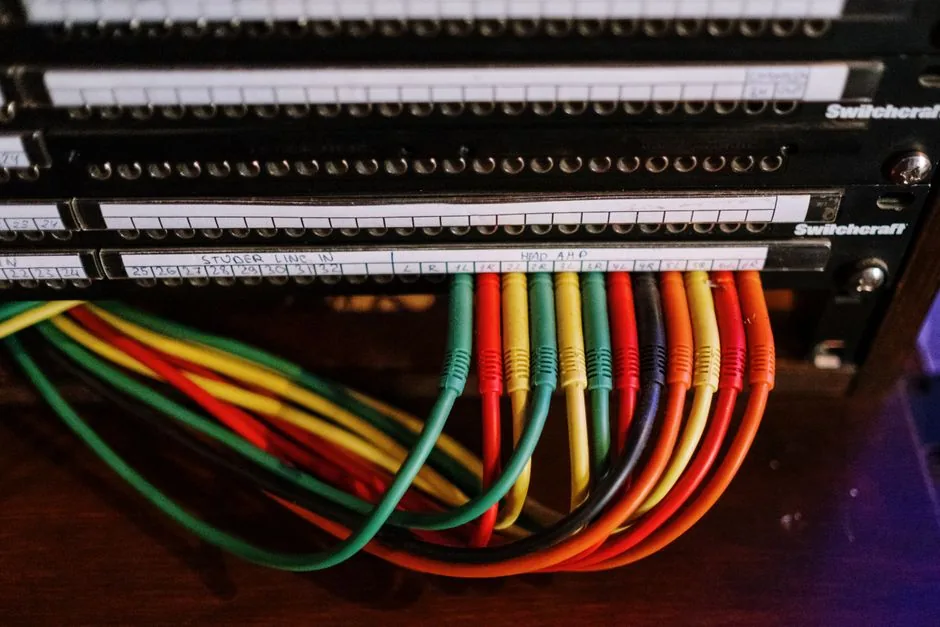
Two cheap products do most of the heavy lifting. A cable tray — a simple metal or mesh basket that clamps to the underside of the desk — holds the entire bundle of power and data cables in one hidden channel. Cable sleeves (braided or split-loom tubing) wrap multiple cables into a single neat tube that looks far cleaner than a bundle of exposed wires.
Together they turn a messy underside into a tidy, single-run trunk. A simple clamp-on tray and a couple of sleeves usually cost under $25 total, which makes them the highest-value cable management purchase on the list — and sites like Tom’s Hardware keep updated product roundups if you want current model recommendations. For a standing desk, make sure the tray and clips can flex with the moving surface without pinching the cables.
Use Monitor Arms and Channel Clips
Monitor arms hide cables beautifully by routing them down the arm itself, thanks to the built-in clips most arms include. If your monitor sits on its original stand, channel clips and adhesive holders are the equivalent: small guides that stick to the desk edge or wall and point each cable in the right direction.
The advantage of an arm goes beyond looks — it also frees the desk surface under the display, which is where most of the visual clutter accumulates. If a monitor upgrade is also on your mind, our best gaming monitor arm roundup covers arms that channel cables cleanly.
Keep the Mouse, Keyboard, and Headset Off the Surface
Desk-surface cables are what the eye actually sees, so they deserve the most attention. For the keyboard, a grommet in the desk or a discreet hole with a cable pass-through drops the wire straight down and out of sight. For the mouse, a mouse bungee or a clip that holds the cable at the back edge keeps it from dragging and tangling.
The headset is often the worst offender since it gets laid down in a different spot every day. A simple under-desk headphone hook or a headset stand gives it a permanent home and pulls its cable out of the way entirely. If you think wireless might be the simpler answer, our wired vs wireless gaming mouse guide weighs the pros and cons of cutting the cord.
Label, Test, Then Hide the Excess
Before you cinch everything tight, plug it all back in and label each cable near the power strip with a little tag or colored tape. Testing first means you iron out any length or routing mistakes while the ties are still loose, and labeling makes future troubleshooting take seconds instead of a frustrating unplug-and-trace session.
Once everything works, bundle the excess “service loops” of overlong cables into figure-eight coils and tuck them into the tray or behind the desk. Coiling over the arm’s length — not tightly wound around your hand — keeps the cables from developing kinks and internal breaks over time. Now, and only now, cinch the final zip ties.
FAQ
What is the best way to hide desk cables?
The best cable management method is to consolidate power into one under-desk strip, route a main trunk along the desk edge and down a leg, and hide the bundle in a clamp-on cable tray wrapped with sleeves. Velcro ties keep it adjustable while you build.
Do I need a cable tray for my desk?
A cable tray is not strictly required, but it is the single most effective product for hiding the power strip and the main bundle of cables under the desk, and it costs very little. Combined with sleeves, it turns a messy underside into one clean channel.
Should I use zip ties or velcro for cable management?
Use velcro ties while you are building and adjusting, because they are reusable and easy to open. Save zip ties for permanent final positions. Velcro also makes adding or swapping a cable much easier later.
How do I manage cables on a standing desk?
On a standing desk, leave enough slack for the full range of motion and use flexible cable channels or a tray that moves with the surface. Route the trunk near the desk’s pivot and use adjustable ties so nothing pinches when the desk raises.
Is it worth buying a cable management kit?
Yes, for most people a kit with a tray, sleeves, adhesive clips, and a roll of velcro is a good value at under $30. You can also buy the pieces individually — a tray and velcro cover 80% of what most setups need.
Conclusion
The best cable management tips boil down to a sequence: map first, consolidate power into one strip, route a single trunk along the desk edge and down a leg, then hide the bulk in a tray and sleeves. Follow it once and you will have a desk that looks clean, works better, and stays that way. For the desk itself and the finishing touches of a truly tidy battle station, check our best gaming desk 2026 and gaming desk setup ideas guides.