How to Build a Gaming PC Step by Step: The Complete Build Guide
Learning how to build a gaming pc step by step is less intimidating than it looks. A modern PC is essentially seven components that snap into a case, and the whole job takes two to four hours your first time. You’ll save $150-300 versus buying a prebuilt, get exactly the parts you want, and walk away with a machine you understand well enough to upgrade for years.
This guide assumes you’ve already picked your parts. If you haven’t, start with my components needed to build a gaming pc checklist, or grab a ready parts list from my budget gaming pc under 500 build. Work on a clean, flat, non-carpeted surface, and ground yourself by touching the metal case frame occasionally.
What You’ll Need Before You Start
Gather everything up front so you don’t stall mid-build. The single biggest time-waster in a first build is realizing halfway through that you’re missing a cable or a screwdriver.
- A Phillips #2 screwdriver (a magnetic one is worth the extra $5).
- Thermal paste (your cooler may include it, but have a tube handy).
- Zip ties or Velcro strips for cable management.
- Good lighting and enough clear desk space for the case and parts.
- A small flashlight for lining up fine headers.
Optional but genuinely helpful: an anti-static wrist strap, and a motherboard speaker to decode error beeps if your first boot fails. Lay out every box and cross-reference against the part list before you unscrew anything.
Step 1: Prepare the Motherboard Outside the Case
Building the “core” before it goes in the case is the single biggest workflow trick in learning how to build a gaming pc step by step.
- Set the motherboard on its cardboard box (never on the anti-static bag).
- Install the CPU — lift the socket arm, line up the gold triangle on the chip with the triangle on the socket, and lower the arm. Zero force is required; if it resists, it’s not aligned.
- Install the RAM in the correct slots (usually slots 2 and 4, per your manual).
- Mount the M.2 SSD into its slot and secure the small screw.
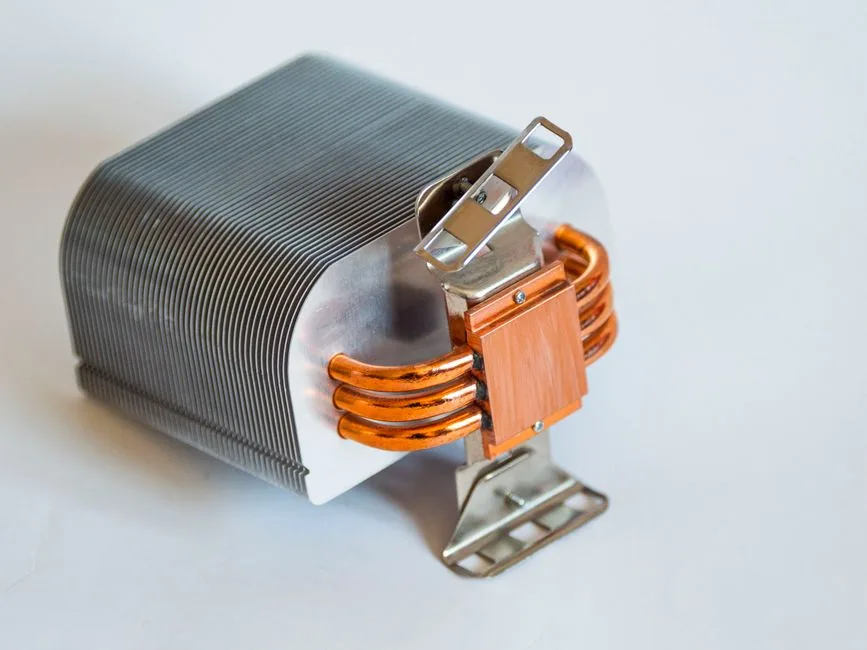
- Install the CPU cooler, applying a pea-sized dot of thermal paste first.
Getting this right while the board is flat and accessible saves you from doing fiddly work inside a cramped case later.
Step 2: Install the Power Supply and Case Fans
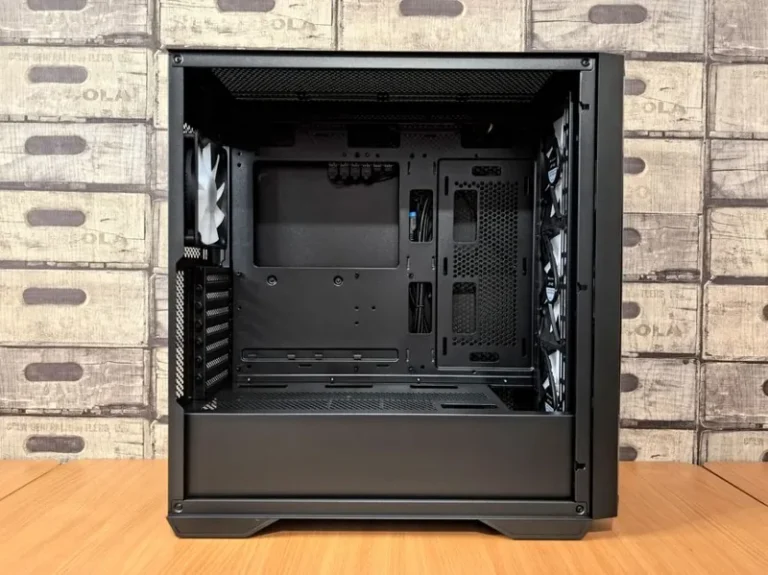
Lay the case on its side and work out your airflow plan first — typically two or three intake fans at the front and one exhaust at the rear/top.
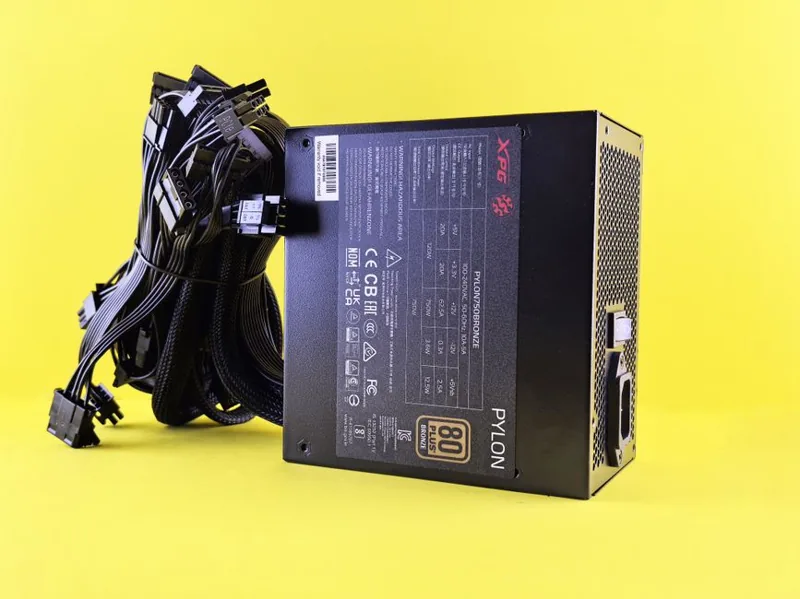
- Screw the power supply into its bay, fan-side down (if the case has a bottom vent).
- Install case fans now, before the board blocks the rear exhaust position.
- Route the main 24-pin, CPU 8-pin, and PCIe power cables toward where they’ll plug in, but don’t connect them yet.
Step 3: Mount the Motherboard
- Check that the case’s pre-installed standoffs match your board’s mounting holes — add or remove standoffs so none sit under the board where there’s no hole.
- Clip in the I/O shield first; it’s nearly impossible to fit once the board is screwed down (many mid-range boards now have a built-in shield, which skips this).
- Lower the board onto the standoffs, line up the holes, and secure it with the included screws. Don’t over-tighten.
A common first-timer error is leaving an extra standoff touching the back of the board, which can cause a short. Every standoff should line up with a screw hole.
Step 4: Connect the Power Cables
Now the cables get their homes:
- The wide 24-pin goes into the motherboard’s right edge.
- The 8-pin EPS (CPU power) goes into the top-left corner of the board — it’s the most commonly forgotten plug.
- The PCIe 6/8-pin power connects to the graphics card after you install it.
Push each connector until the latch clicks. A half-seated 24-pin is one of the most common causes of a no-boot, and it’s the first thing to re-seat if the machine won’t power on.
Step 5: Install the Graphics Card
- Remove the PCIe slot covers from the rear of the case to match the GPU’s length.
- Press the card firmly into the top PCIe x16 slot until the retention latch snaps up.
- Screw the bracket to the case and connect the PCIe power cables.
This is the last major component. Before you button up the case, do one careful pass over every connection.
Step 6: Front-Panel and Case Header Wiring
The fiddly part. Your motherboard manual has a diagram for the front-panel block (power switch, reset switch, power LED, HDD LED) — the tiny single-pin connectors. Match each wire to its pin; only the power switch is truly required, and if it’s reversed the machine simply won’t power on, so flipping it is the first fix to try.
Also connect:
– The front-panel audio and USB 3.0/USB-C headers.
– Each fan’s PWM header on the board.
Step 7: First Boot and BIOS
- Connect a monitor to the graphics card, plug in a keyboard, and flip the PSU switch on.
- Press the power button. The fans should spin and the screen should show the BIOS or POST screen.
- Enter BIOS (Del or F2) and confirm the CPU, RAM speed, and SSD are detected.
If nothing happens, re-seat the 24-pin, CPU power, and the RAM — the classic culprits. If fans spin but there’s no display, check you plugged the monitor into the GPU and not the motherboard video port.
Step 8: Install Windows and Drivers
- Create a Windows 11 installation USB (or use a Linux distro if you prefer) and boot from it.
- After the OS is installed, install the chipset driver and the GPU driver — grab the GPU driver directly from NVIDIA or AMD.
- Enable the RAM’s XMP/EXPO profile in BIOS so your memory actually runs at its rated speed.
Skipping the XMP step is one of the most common ways people leave 5-10% of performance on the table — your DDR5-6000 kit runs at a default 4800 MHz until you enable the profile.
Cable Management That Won’t Drive You Crazy
Good cable management is less about beauty and more about airflow and future access. It’s also one of the quieter stages of how to build a gaming pc step by step, and the one where patience pays off the most. Route every cable behind the motherboard tray through the grommets, and leave a little slack so nothing is under tension.
- Bundle runs together with Velcro or zip ties.
- Keep the main 24-pin and GPU power runs as flat as possible so they don’t block fans.
- Tuck excess PSU cable length into the bottom shroud.
You don’t need a showcase finish — just make sure no cable presses against a fan blade and the front intake path is clear.
How to Build a Gaming PC Step by Step: Common First-Build Mistakes
Knowing how to build a gaming pc step by step also means knowing the classic ways it goes wrong. I’ve seen all of these, and they’re all easily avoided:
- Forgetting the CPU power plug — the most common no-boot cause.
- Not seating RAM fully — it needs an audible click at both ends.
- Plugging the monitor into the motherboard instead of the GPU.
- Skipping thermal paste or using far too much of it.
- Over-tightening screws, which can crack standoffs or strip threads.
The good news: none of these are permanent. A PC that won’t boot on the first try is usually one re-seated connector away from working, so stay calm and work through the checklist.
Frequently Asked Questions
How long does it take to build a gaming PC?
A first build takes two to four hours from unboxing to a booting system. Once you know how to build a gaming pc step by step from experience, a repeat build takes under an hour. The slow part isn’t the big components — it’s cable management and front-panel wiring.
Is building a gaming PC hard for beginners?
No. It’s a guided assembly of seven parts, most of which only fit one way. The riskiest moments are the CPU drop-in and thermal paste application, both of which are solved by going slow and watching the alignment marks.
Do I need thermal paste?
Yes, always. A correct application is a pea-sized dot in the center of the CPU; the cooler’s mounting pressure spreads it evenly. Too much is messy, too little causes thermal throttling.
Can I damage parts with static electricity?
The risk is lower than forums suggest — most modern parts have ESD protection — but grounding yourself on the case and avoiding carpet is free insurance. A $10 wrist strap removes the worry entirely.
What order should I install parts in?
Motherboard prep (CPU, RAM, SSD, cooler) out of the case, then PSU and fans, then the board, then power cables, then the GPU, then header wiring. This order minimizes awkward reaching.
Final Thoughts
That’s how to build a gaming pc step by step — eight manageable stages, a couple of hours, and a machine you built with your own hands. The satisfaction isn’t just sentimental; when something breaks or feels slow later, you’ll know exactly where to look.
If you’re still choosing parts, start with the components needed to build a gaming pc guide, and when you’re ready to compare builds, see the best value gaming pc build for the price-to-performance sweet spot.