How to Apply Thermal Paste: A Step-by-Step Guide for 2026
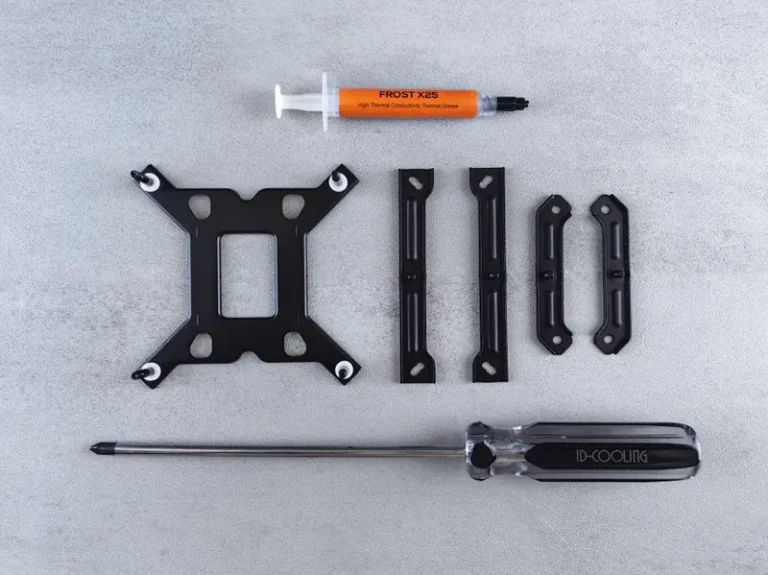
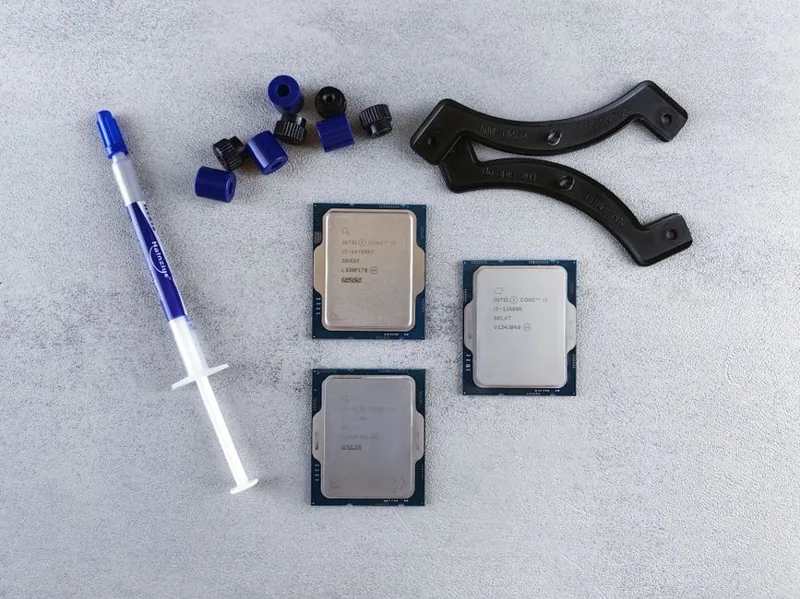
Knowing how to apply thermal paste correctly is one of the cheapest and most effective ways to keep your CPU cool and stable. Thermal paste fills the microscopic gaps between your processor’s heat spreader and the cooler’s base plate, so heat transfers efficiently instead of getting trapped in air pockets. Apply too little and you get hot spikes; apply too much and it squeezes out over the socket. The good news is that the process takes under ten minutes and needs no special tools beyond a tube of paste, isopropyl alcohol, and a lint-free cloth. This guide walks you through every step, from choosing the right paste to verifying your temperatures afterward.
Why Thermal Paste Matters
A CPU heat spreader and a cooler base are never perfectly flat — under a microscope, both are covered in tiny valleys and peaks. Those gaps trap air, and air is a terrible conductor of heat. Thermal paste fills those gaps with a material that conducts heat hundreds of times better than air, dropping temperatures by 10 to 20 degrees Celsius versus a dry mount. It is the difference between a chip that boosts to its full clocks and one that throttles under load. Getting this step right is essential whether you are building fresh or swapping an old cooler.
Choosing the Right Paste
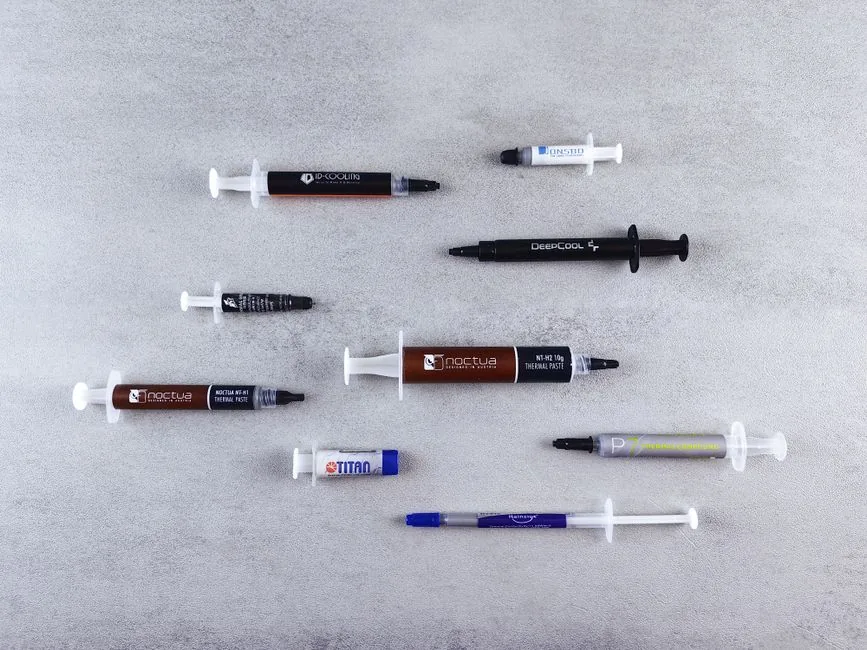
Not all thermal compounds are created equal, and the right one depends on your comfort level. Standard ceramic and carbon-based pastes are non-conductive, forgiving, and safe for beginners. Metal-based pastes conduct better but can be slightly conductive, so spills need more care. Liquid metal is the top performer — often several degrees better than the best paste — but it is electrically conductive and requires an experienced hand, so it is best left to enthusiasts. For most builders, a quality mid-range paste like Arctic MX-6 or Noctua NT-H2 is the sweet spot. Our best thermal paste roundup compares the top options in detail.
How to Apply Thermal Paste: Step-by-Step
1. Remove the Old Paste
Detach the CPU cooler carefully, wiggling it gently to break the suction instead of yanking it straight up. Lift it off. Clean both the CPU heat spreader and the cooler base with a few drops of isopropyl alcohol on a lint-free cloth, wiping until the surface is shiny and free of residue.
2. Place a Small Dot of Paste
For the pea method, squeeze a single dot of paste — about the size of a grain of rice or a small pea — onto the center of the CPU. Most builders consider this the safest and easiest approach for rectangular AMD and Intel chips, and it is nearly impossible to get wrong.
3. Mount the Cooler
Lower the cooler straight down onto the CPU and tighten the screws in a criss-cross pattern a little at a time. The even pressure spreads the paste into a thin, uniform layer. Do not lift the cooler after it touches, or you will introduce air bubbles that ruin the mount.
4. Verify and Finish
Reconnect the CPU fan header, close the case, and boot. Monitor your temperatures with HWiNFO or Core Temp for a few minutes; idle temps in the 30s to low 40s Celsius are healthy. If you see sudden high spikes, you may have used too little or mounted unevenly.
Pea, Line, or Spread: Which Method Wins?
The classic debate in how to apply thermal paste is which pattern to use. The pea method works well on most chips and is the hardest to botch. A thin vertical line or an X works better on very large or rectangular dies, where a single center dot may not reach the corners. Manual spreading gives you complete control but risks air pockets if you leave bare spots. In controlled tests at Tom’s Hardware, the differences between a well-applied pea, line, and spread are usually only one to three degrees — so technique matters less than simply using the right amount and mounting evenly.
Common Mistakes That Hurt Cooling
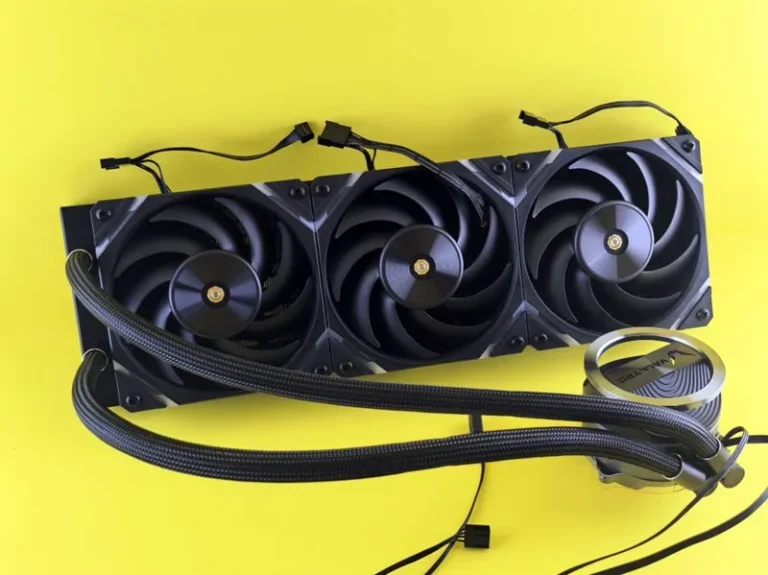
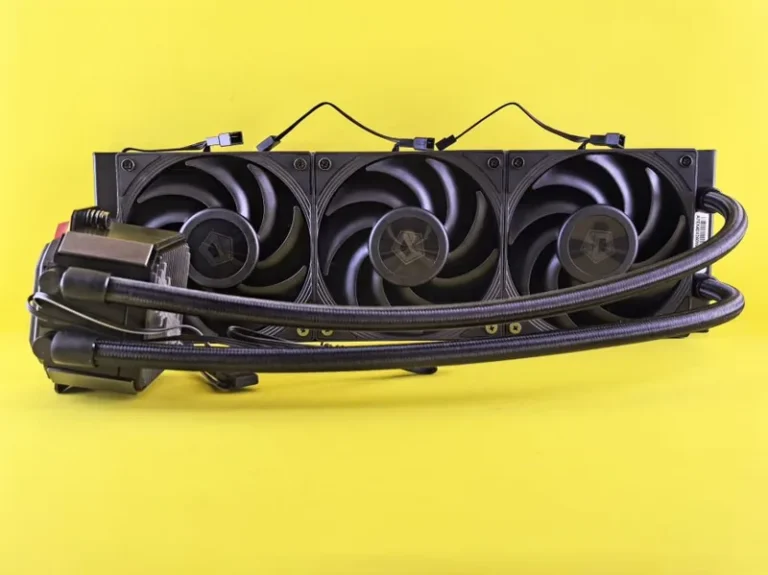
Applying too much paste is the most frequent error — it can squeeze onto the motherboard and is messy, though modern non-conductive pastes rarely damage anything. Not cleaning the old paste before reapplying traps air and defeats the purpose. Tightening the cooler unevenly leaves one side hotter than the other. Finally, pressing the cooler down and lifting it back up to check coverage introduces air bubbles. For help choosing between cooler styles, see our AIO vs air cooler comparison.
How Often Should You Replace Thermal Paste?
A good paste lasts three to five years before it dries out and loses effectiveness. Reapply whenever you remove the cooler, when you notice temperatures climbing despite clean fans, or as part of a new best CPU cooler 2026 install. If you build systems regularly, it is worth keeping a spare tube on hand rather than realizing you are out mid-build.
How to Apply Thermal Paste to a Laptop CPU or GPU Die
Applying paste inside a laptop is riskier and follows slightly different rules. Laptop CPU and GPU dies are bare silicon with no heat spreader, so they are far more fragile than desktop chips. Use a small amount — roughly the size of a grain of rice — and do not spread it with anything hard, since a slip can crack the die. Remove the heatsink carefully, clean the old paste with isopropyl alcohol, apply the fresh dot, and re-seat the heatsink evenly before tightening the screws in a criss-cross pattern. Because laptop cooling is often shared between CPU and GPU, check that thermal pads on surrounding components are still intact and replace any that have dried out. If your laptop is several years old and running hot, a repaste and a dust clean can drop temperatures by ten degrees or more, which often cures throttling and noisy fans at zero hardware cost.
Pressure, Mounting, and Torque
How evenly you tighten the cooler matters almost as much as the amount of paste. Tighten the screws in an X or criss-cross sequence, a couple of turns at a time, so the base plate comes down flat instead of tilting to one side. Stop when the screws are snug — over-tightening can bow the motherboard and actually lift the cooler off the die at the edges. If your cooler has springs, let them set the pressure and just seat the screws until they stop. After mounting, a quick temperature check under load confirms whether the paste spread evenly; a difference of more than a few degrees between cores is a classic sign of an uneven mount, in which case you should clean and reapply. Getting the mechanics of how to apply thermal paste right — not just the amount — is what separates a clean mount from a throttling one.
FAQ
How much thermal paste should I use?
A pea-sized dot in the center is the standard. For larger chips like Intel’s LGA1851 or AMD’s Ryzen 9, a slightly larger dot or a short line works better than a tiny speck.
Is the pea method better than spreading?
For most people, yes. The pea method self-spreads evenly under mounting pressure and is harder to get wrong. Spreading is useful for very large or rectangular dies but risks air gaps if done poorly.
Can thermal paste damage my motherboard?
Not if you use a non-conductive paste. Most modern pastes are non-conductive, so even a small spill is safe as long as you clean it. Avoid liquid-metal paste unless you know exactly what you are doing.
Do I need to reapply paste after removing the cooler?
Always. Once the cooler separates, the old layer is broken and full of air gaps. Clean and reapply fresh paste every time.
Conclusion
Learning how to apply thermal paste properly takes a few minutes but pays off in lower temperatures and a longer-lived CPU. Use the pea method, clean surfaces with isopropyl alcohol, and mount evenly with a criss-cross pattern. Do it right once and your chip will run cool for years.